Hello nail art enthusiasts. It’s been awhile since I’ve done my own nails. The last time I did them was at the end of March for the Lilac Orchid nails. I had so many other things going on that they were just not high on my priority list. I finally got around to doing them again! I had some new products come in and I wanted to try them out. Keep reading to see what I used for this look.
Creating the Look
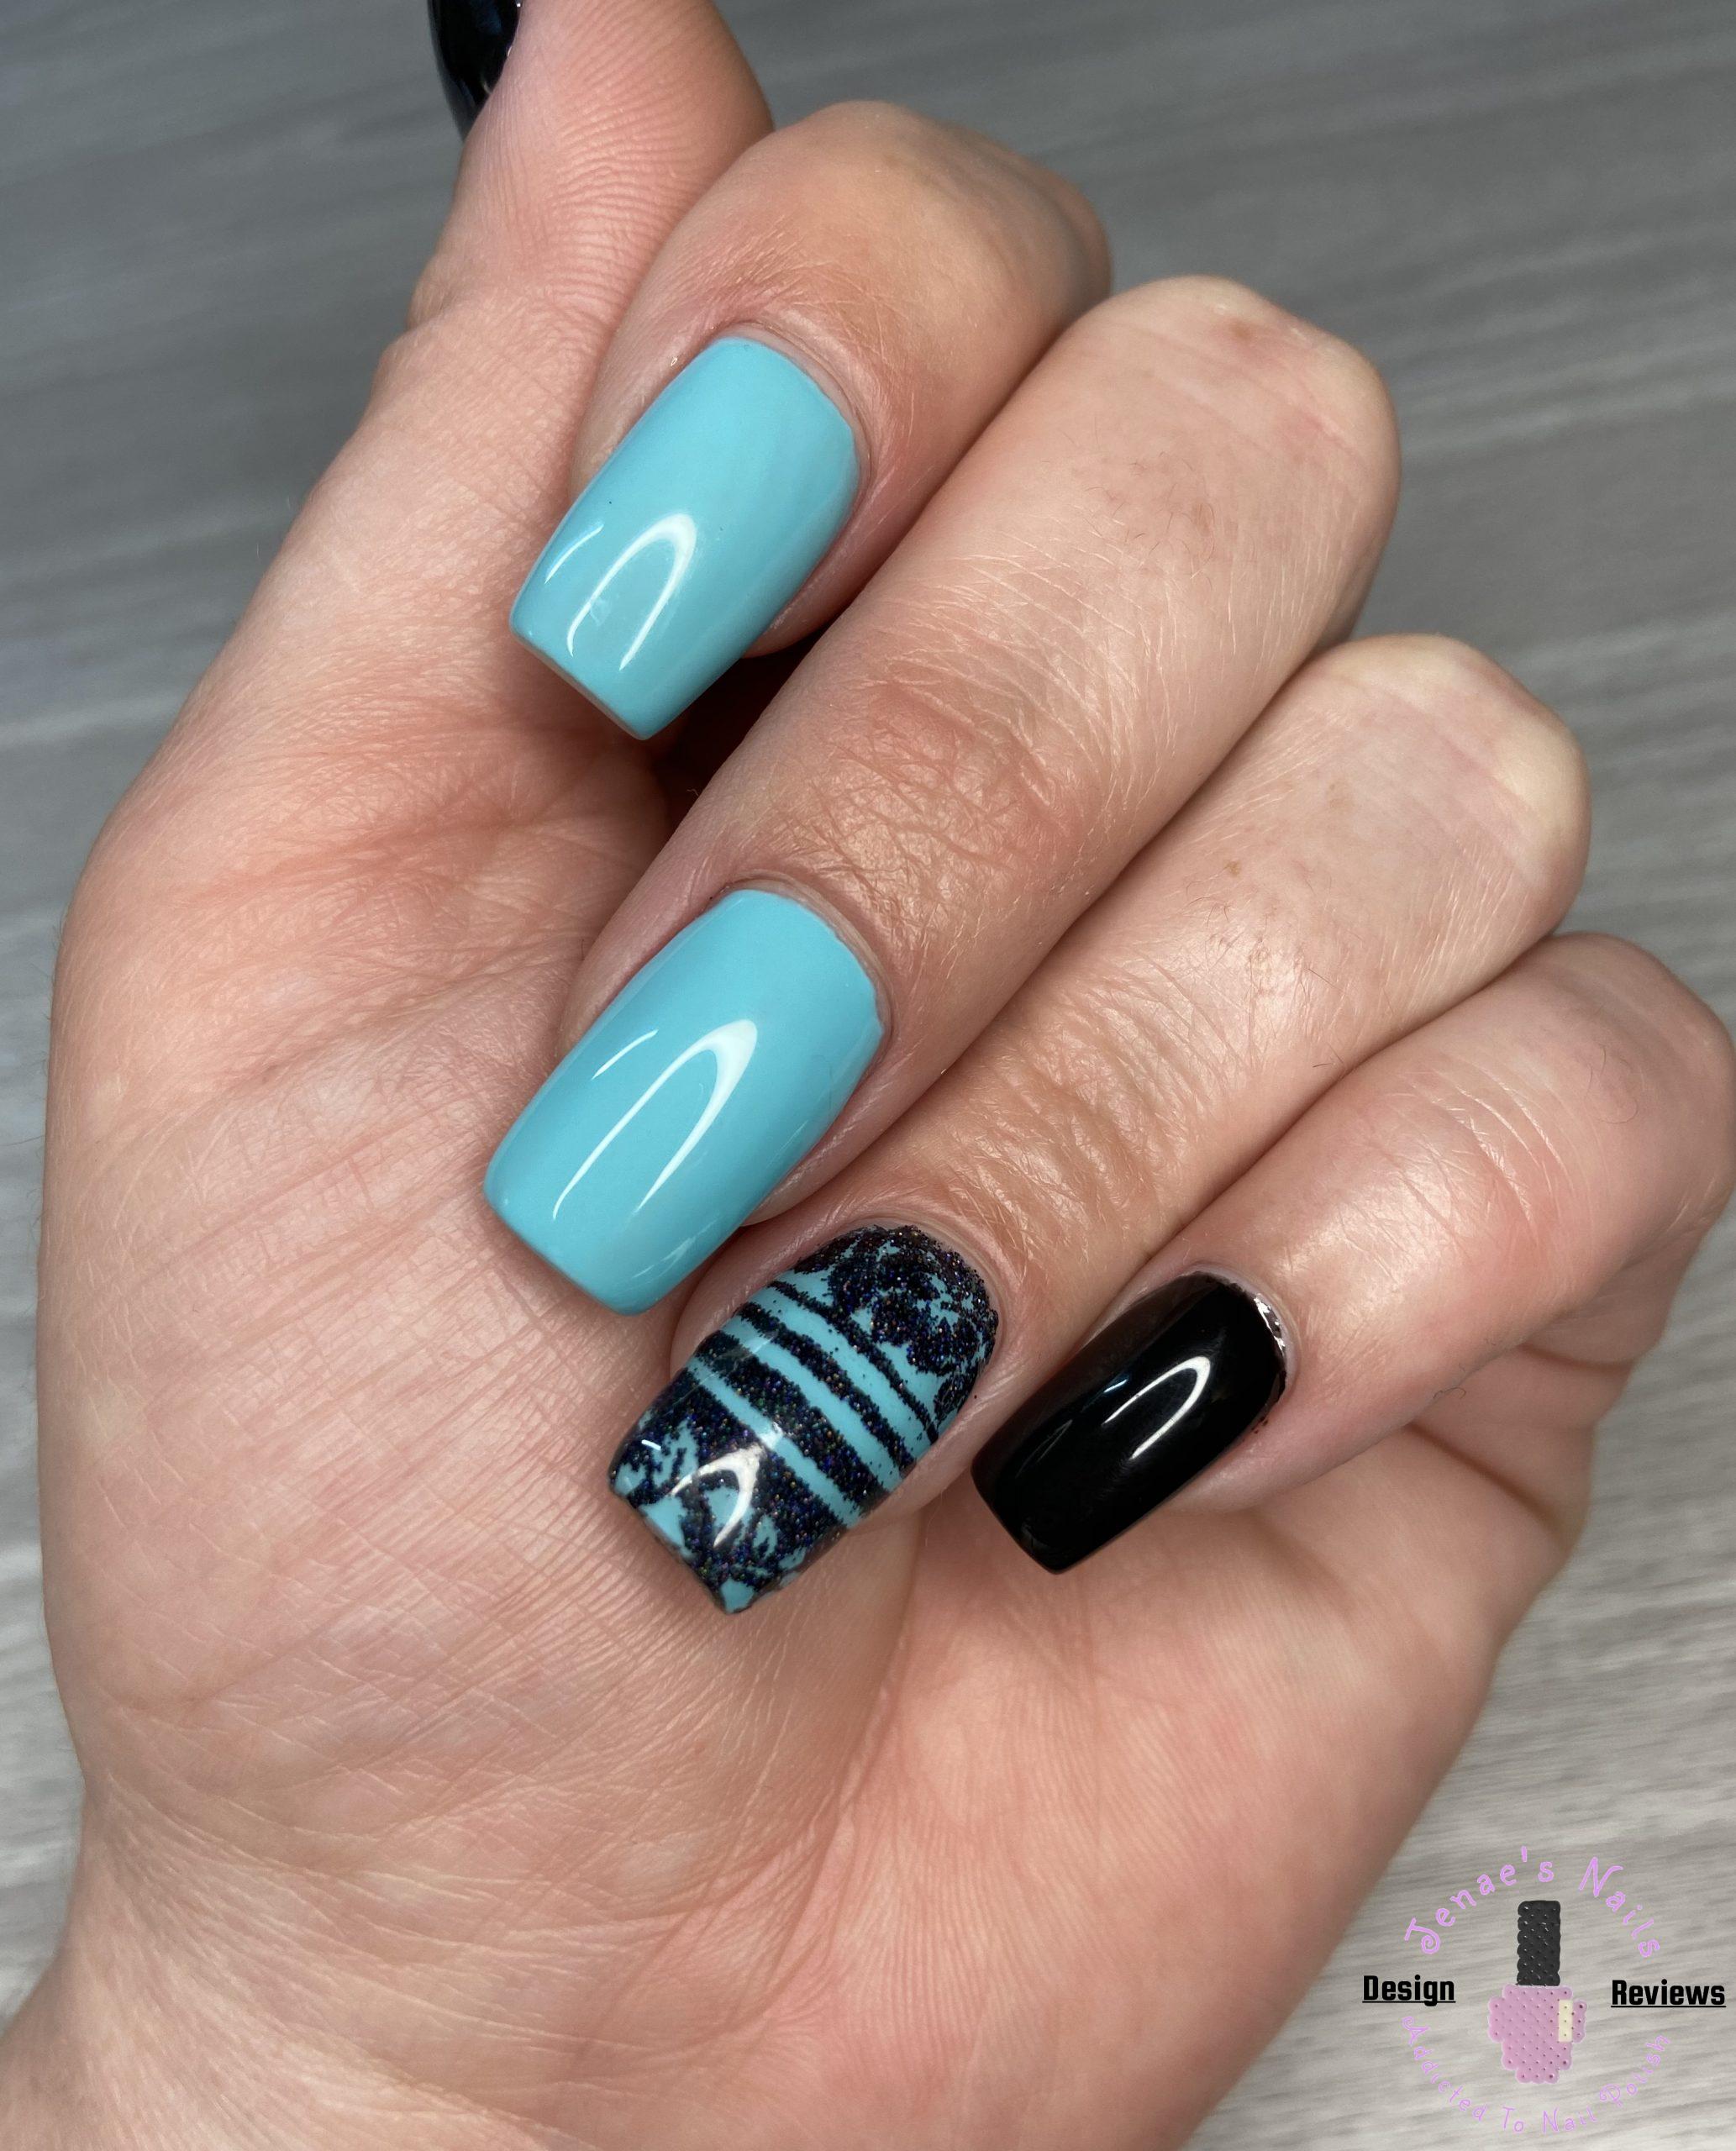
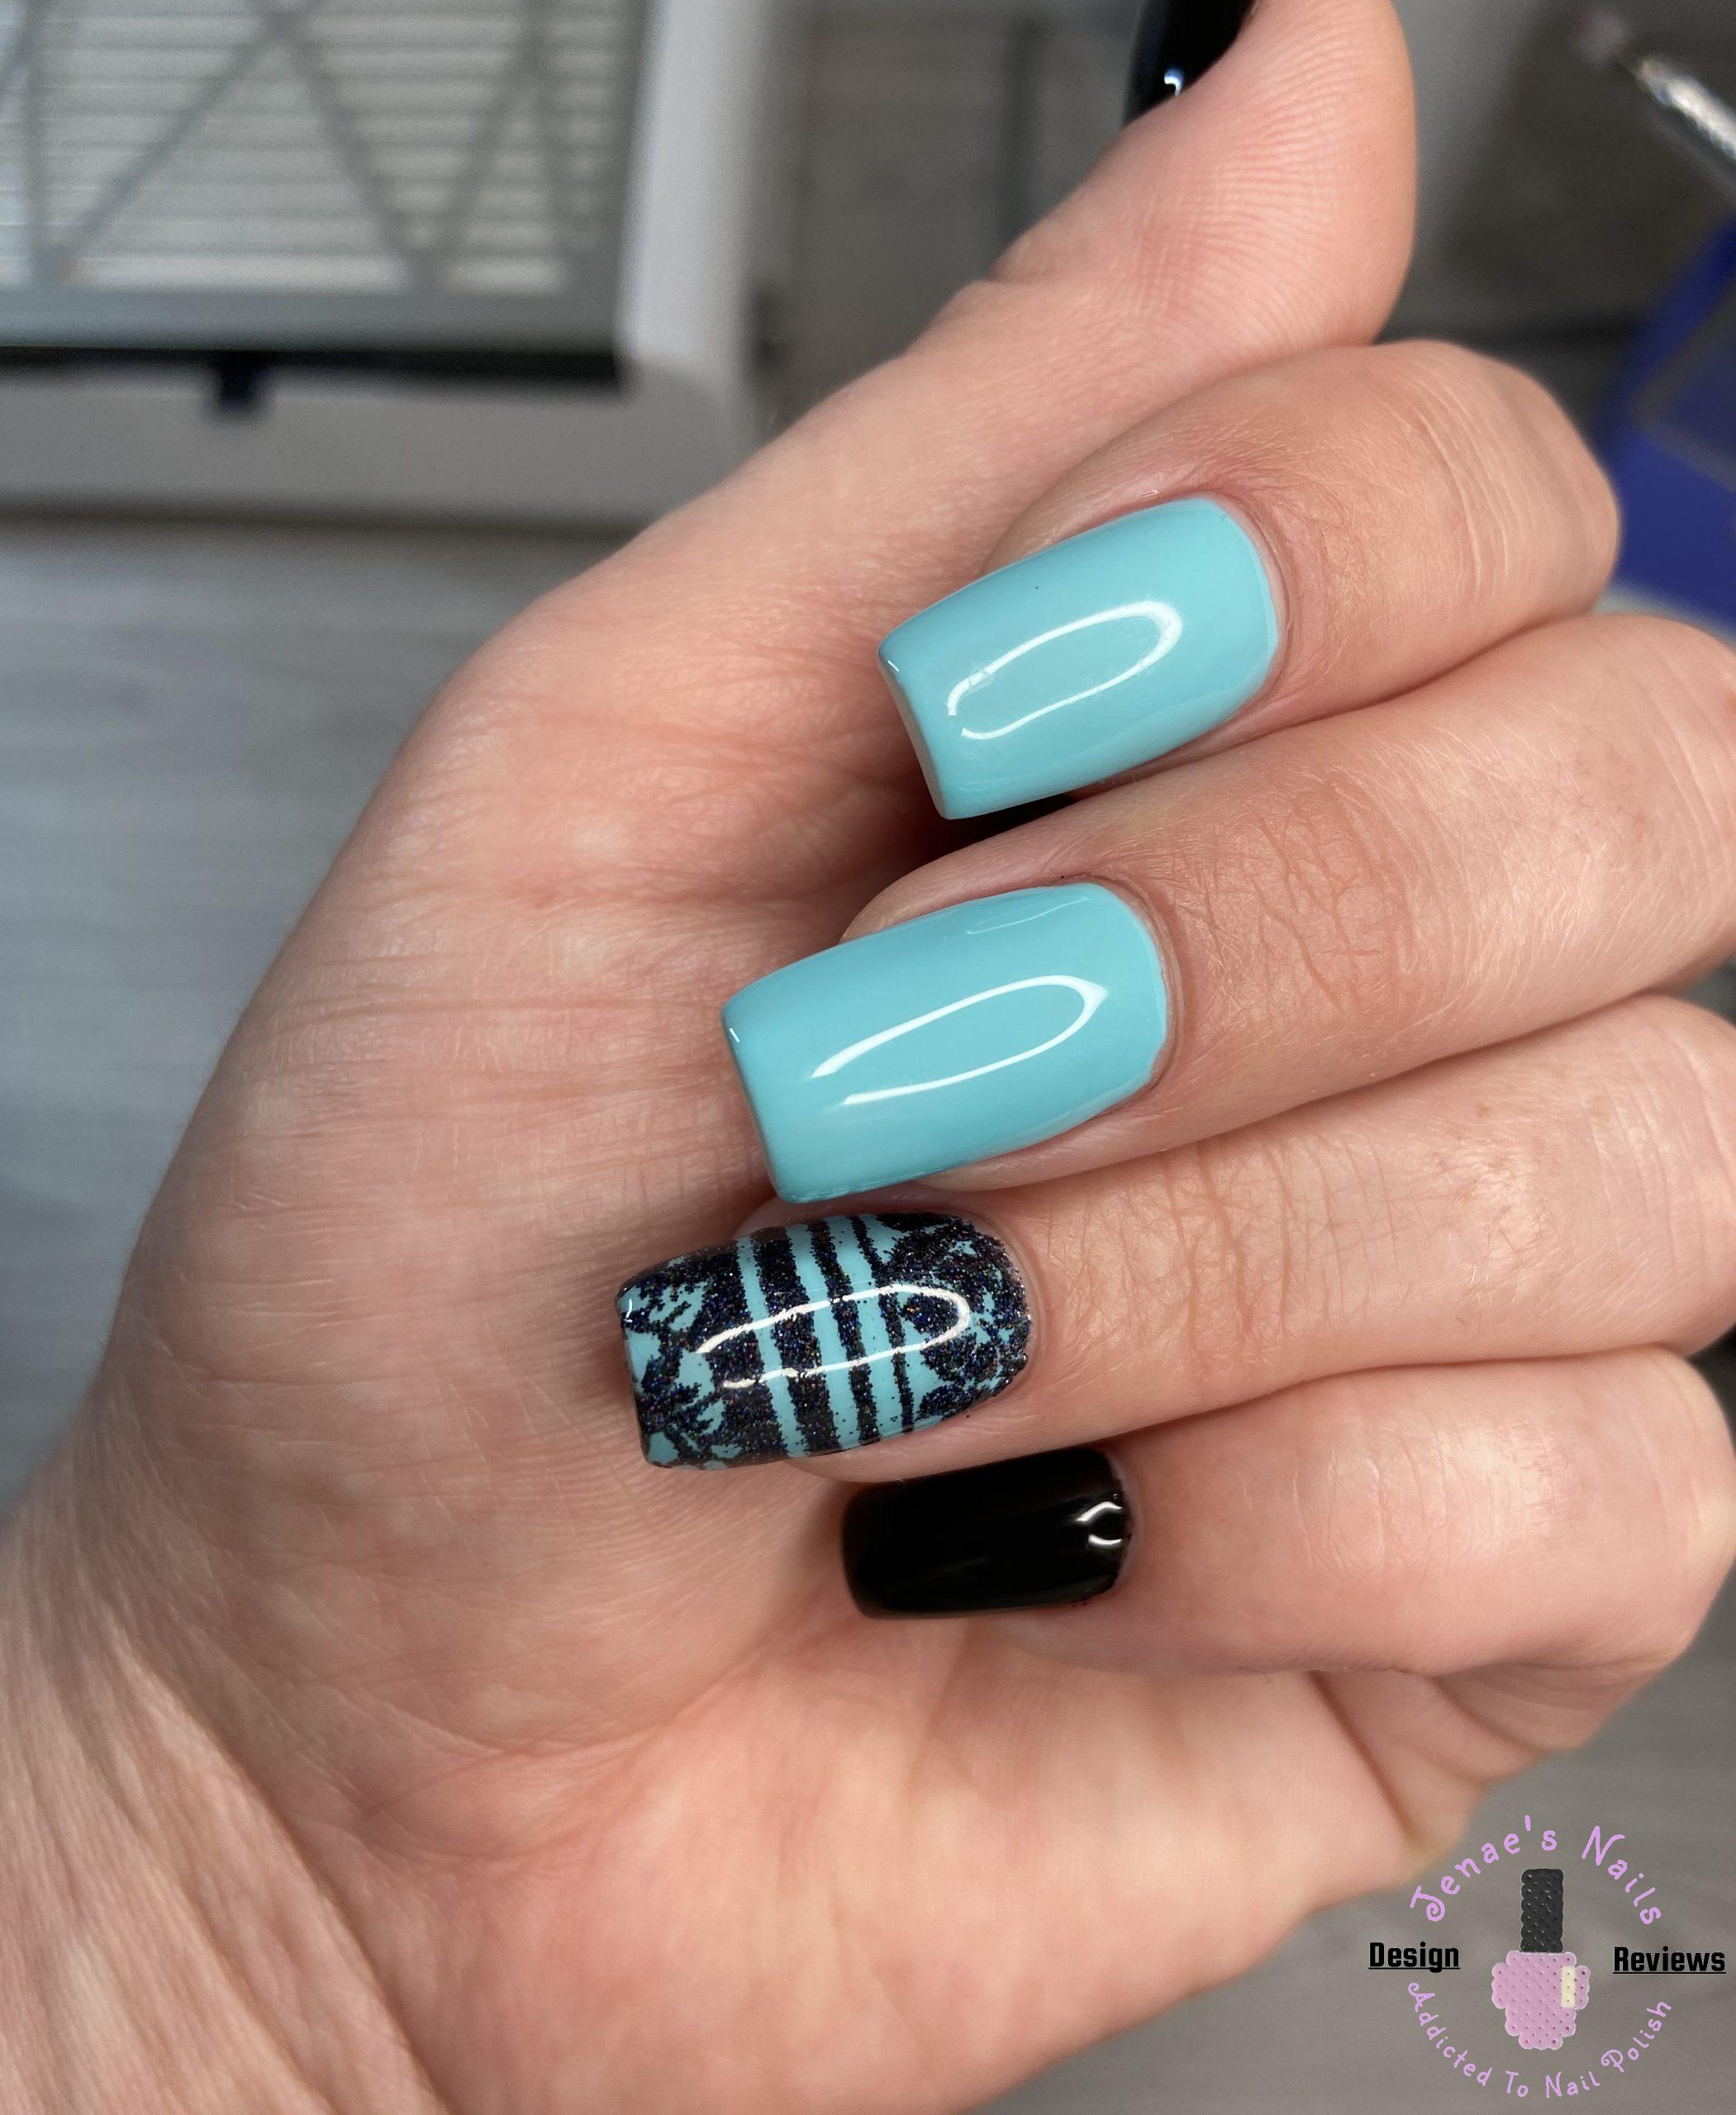
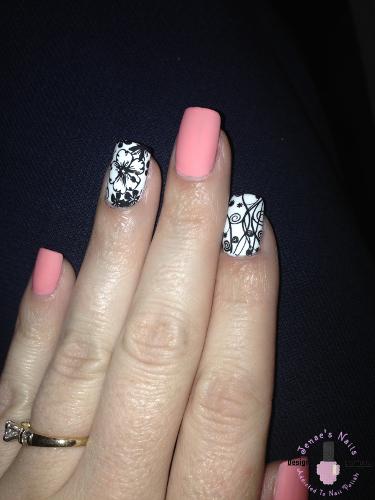
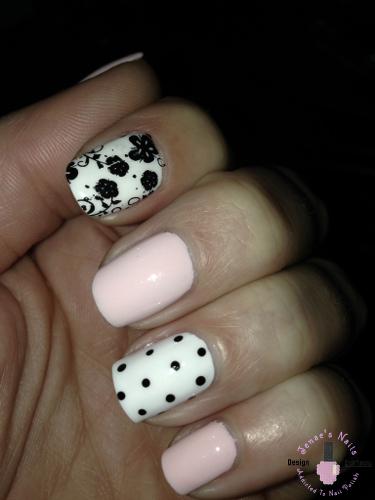
I always start by applying Young Nails Protein Bond to all of my nails because I have acrylic nails. Next, I applied two coats of black and teal gel polish to the respective fingers. Then I applied a gel top coat to all nails except the ring finger. On the ring finger I applied liquid latex around the nail to make clean up easier. Afterwards, using a special stamping gel, I stamped a design on to the ring finger. Without curing the stamping gel, I took my scrubby brush and patted glitter into the design. Once I was done with that, I cured the nail. I removed any excess glitter and peeled off the liquid latex before applying a gel top coat.
I think this look turned out nicely. Trying to capture the sparkle of the glitter in a picture was difficult than doing the design! This was a simple but pretty nail look. What are your thoughts? Leave a comment below.
Products Used
- Young Nails Protein Bond
- Young Nails Mani•Q – Aqua Marine
- Young Nails Mission Control – Over Drive
- Young Nails Synergy Gloss Gel
- Twinkled T Lace Liquid Latex
- Wildflowers Black Stamping Gel
- Wildflowers Black Holo Micro Glitter
- Wildflowers Scrubby Brush
[mailpoet_form id=”2″]
I love the design and colors! Beautiful.