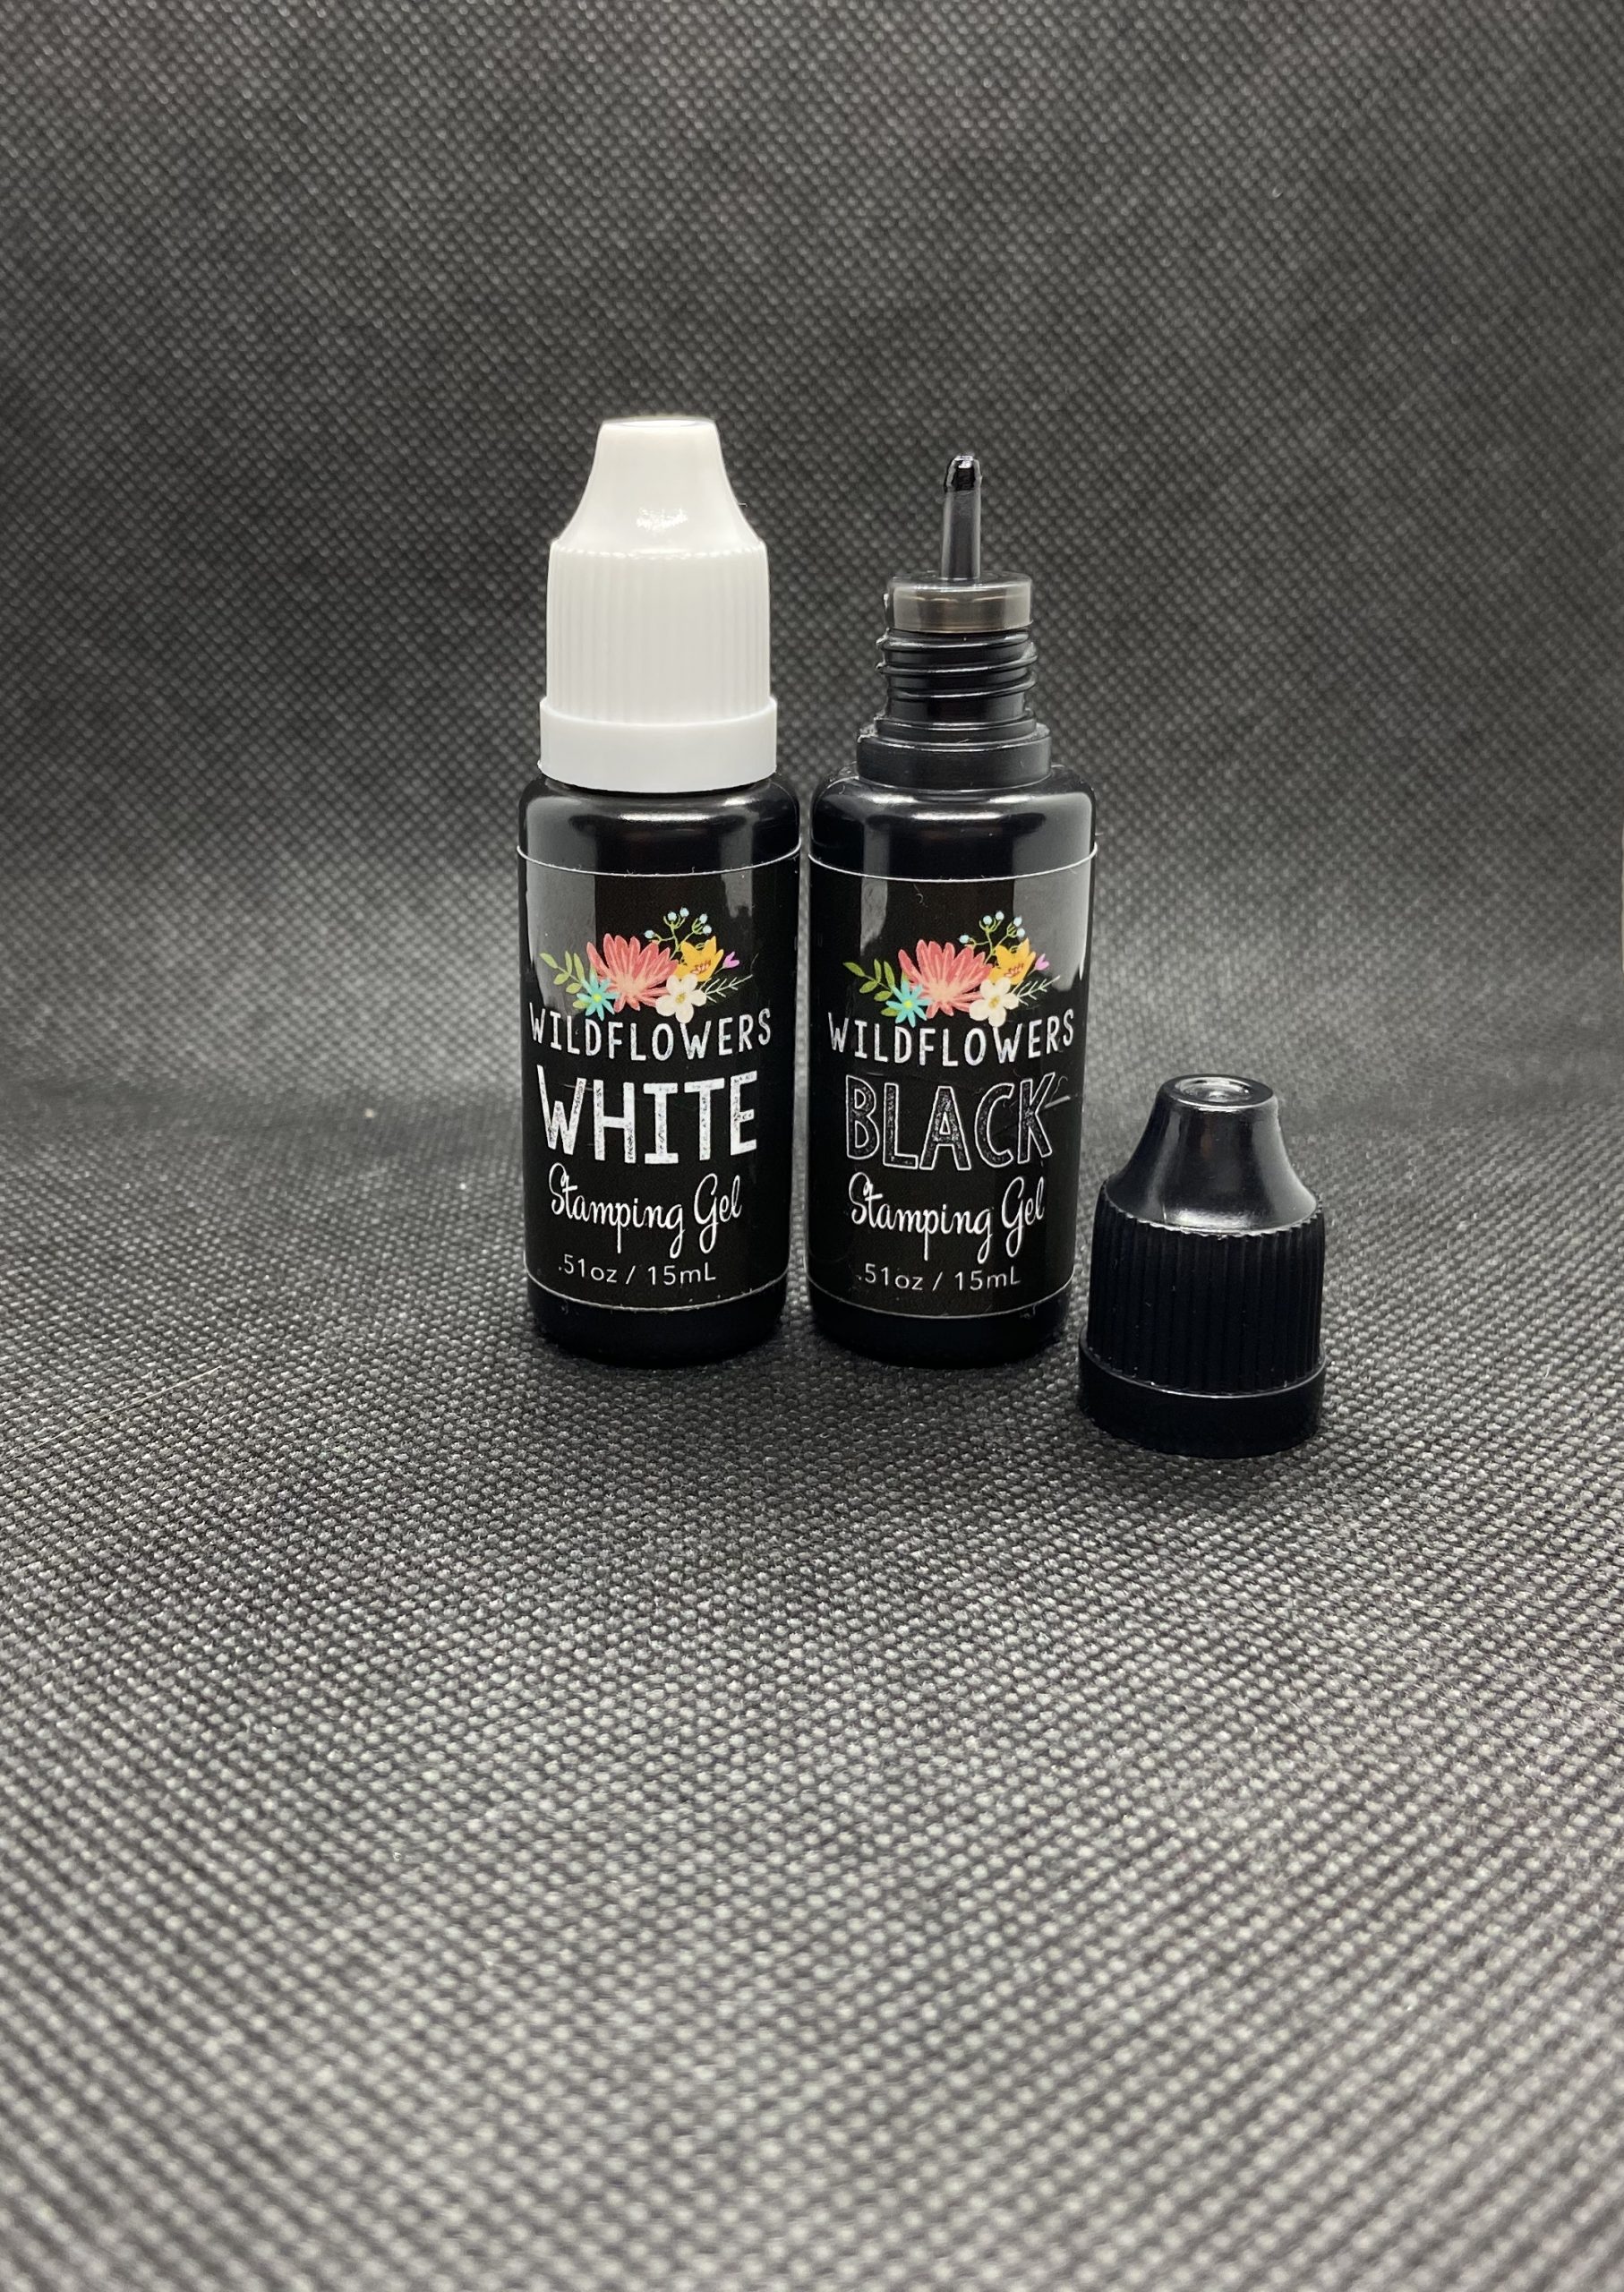
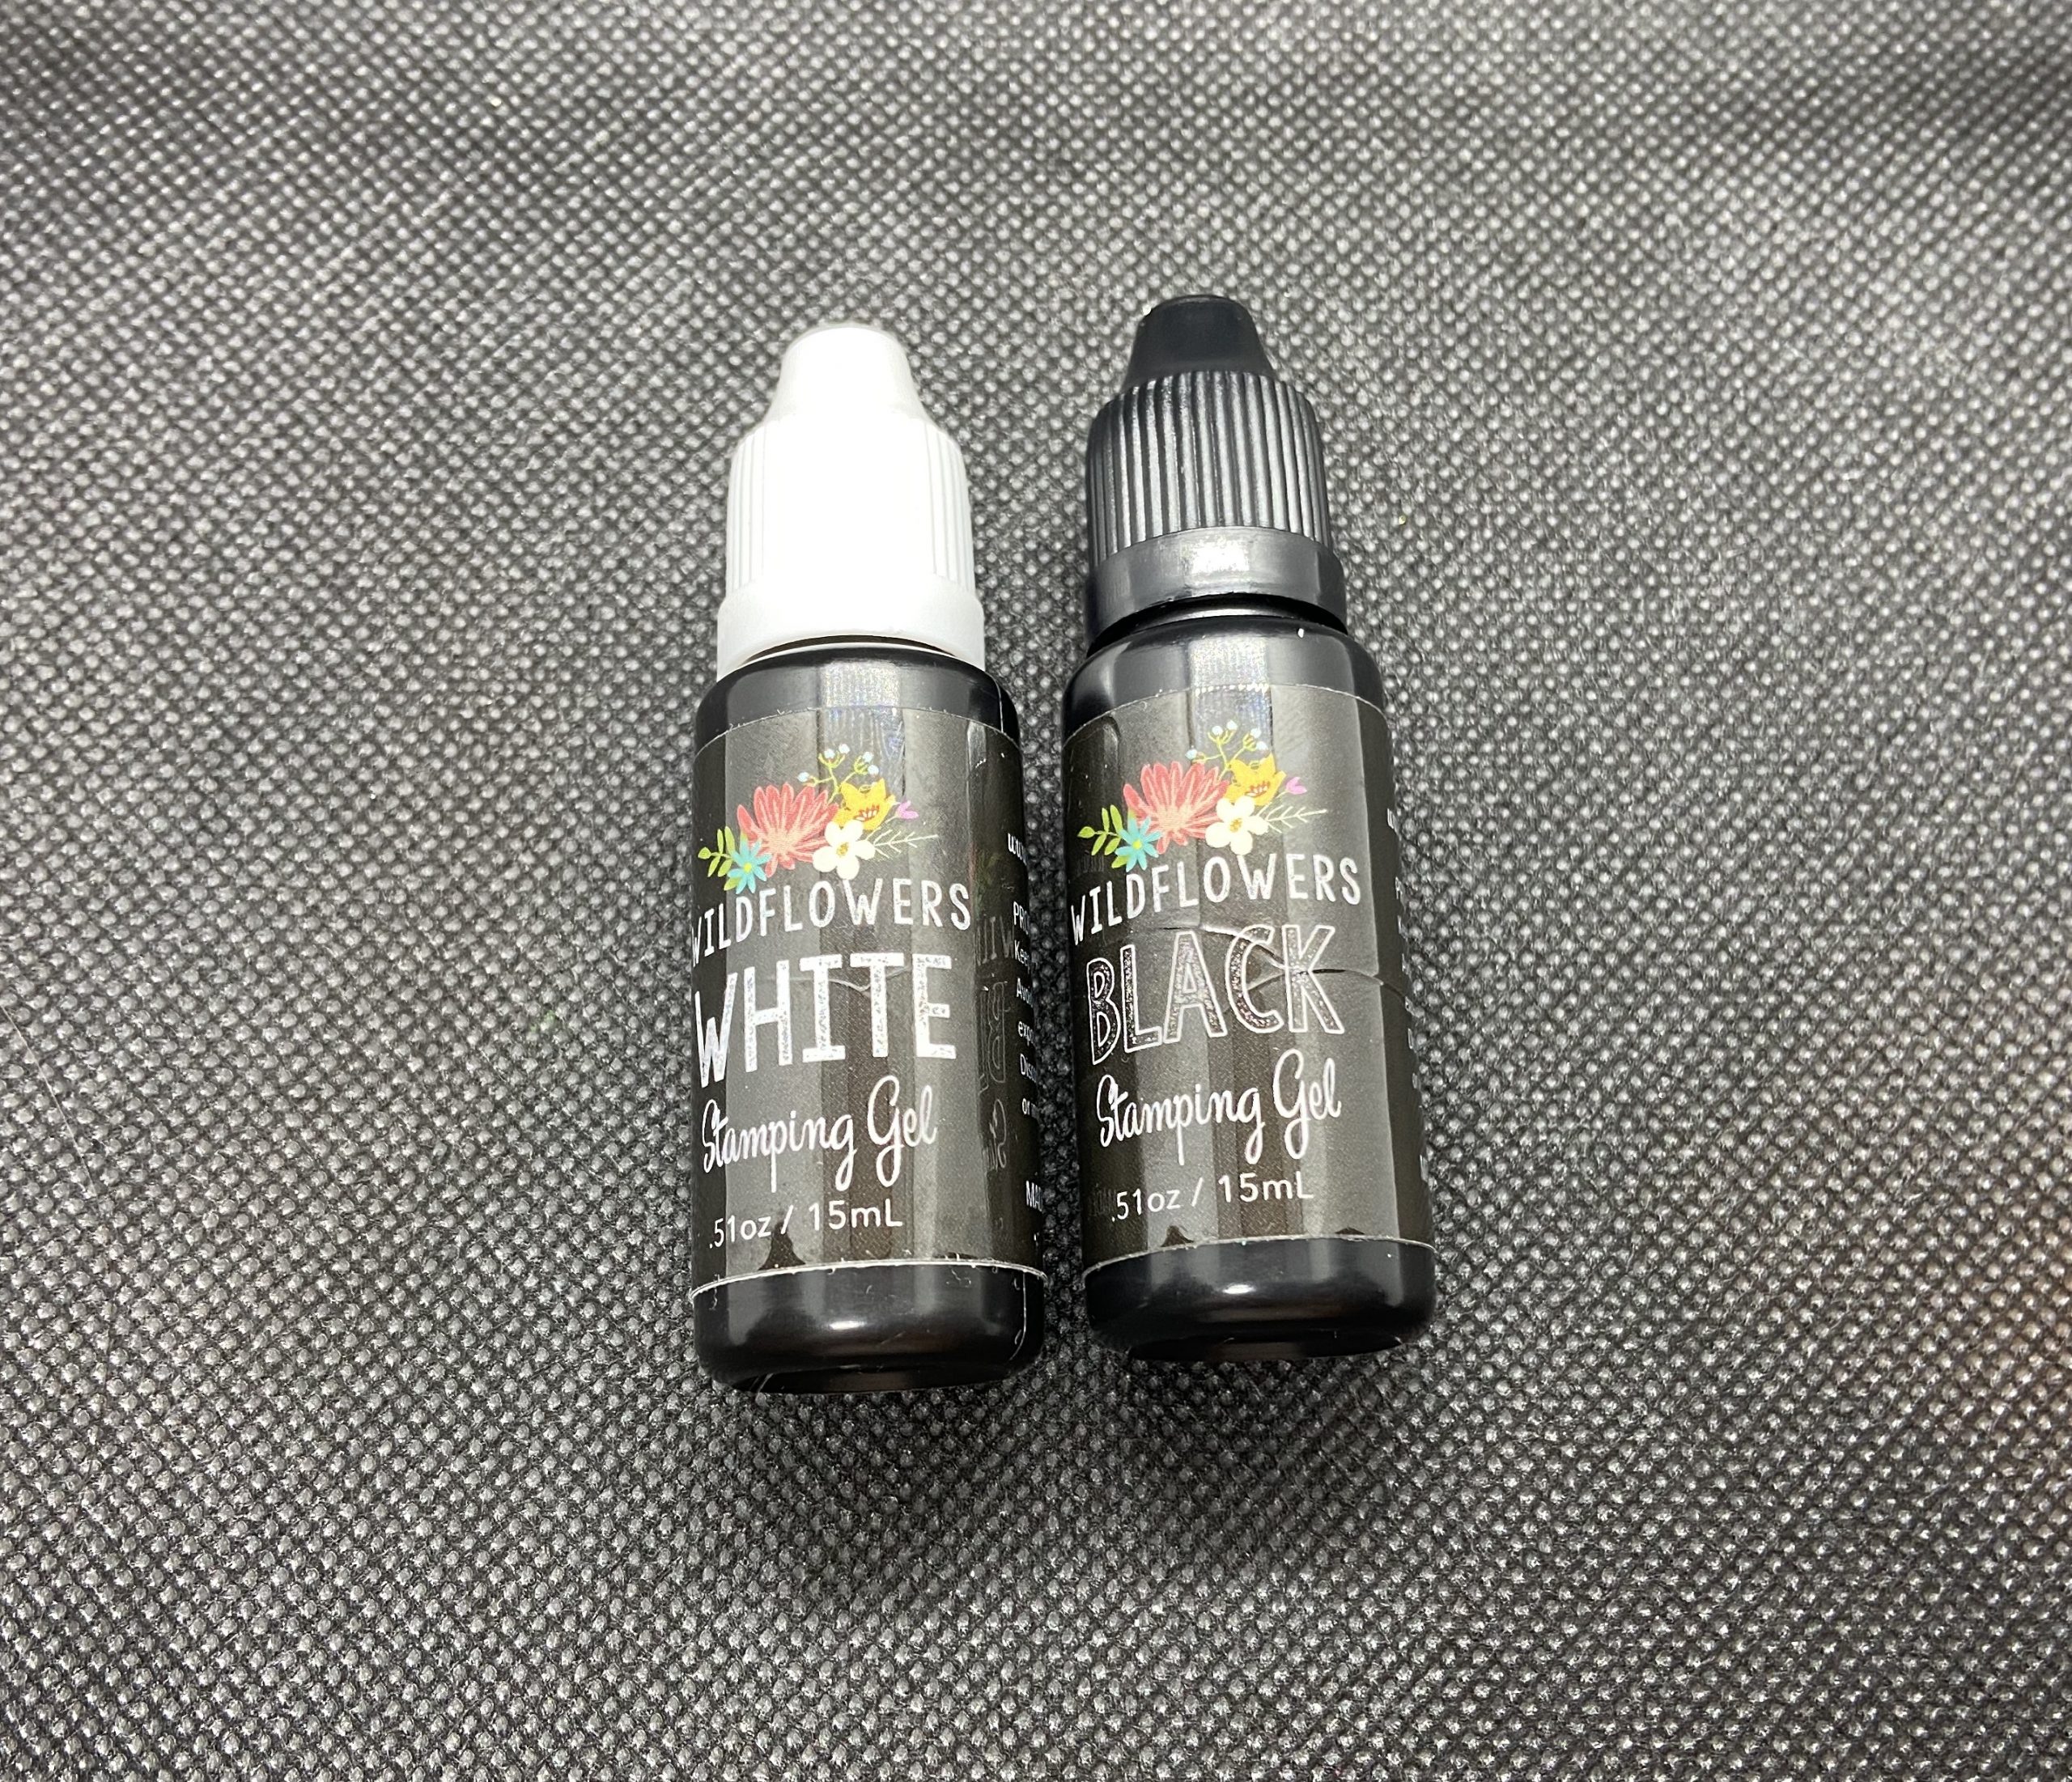
Hello fellow nail art enthusiasts! In the midst of the stay at home requirements, I have been trying to get work done on this site. It has been a little challenging with my youngest one being home from school all the time. In this post I’m reviewing Wildflowers Nail Shop Stamping Gel. I purchased the stamping gel in white and black from the “Wildflowers Nail Shop“. These retail for $22 USD each and are 15ml bottles. I also purchased the Scrubby Brush which retails for $7 USD. I made my purchase when there was a sale, so I didn’t pay full price. They did kindly send a sample of the Black Holo glitter which was cool. I purchased these to be able to add glitter, chrome powders, pigments, etc. to a stamping design without having to “reverse” stamp or rub the stamper with powders prior to stamping. I don’t want to waste or use an unnecessary amount of product to achieve a look. Keep reading to see the different designs created using these gels.
Before Starting
So a few things to keep in mind with these gels are that they are sticky and a little goes a long way. You don’t have to work as quickly as you would with regular stamping polish since they are gel. I would recommend checking out Lauren Wiremans’ YouTube channel on tips to using these products. She is the creator of Wildflowers Nails. I found them very informative and helpful to watch. Here is my favorite video for this gel “Wildflowers Stamping Gel Instructions“. For any designs that used glitter or pigment powder, I did not cure the gel before putting on the products. For designs that used powders where you need to rub or buff the product on, I cured the gel for about 5-10 seconds so it would stay in place and not smudge when rubbing on the products.
Stamping Gel Swatches
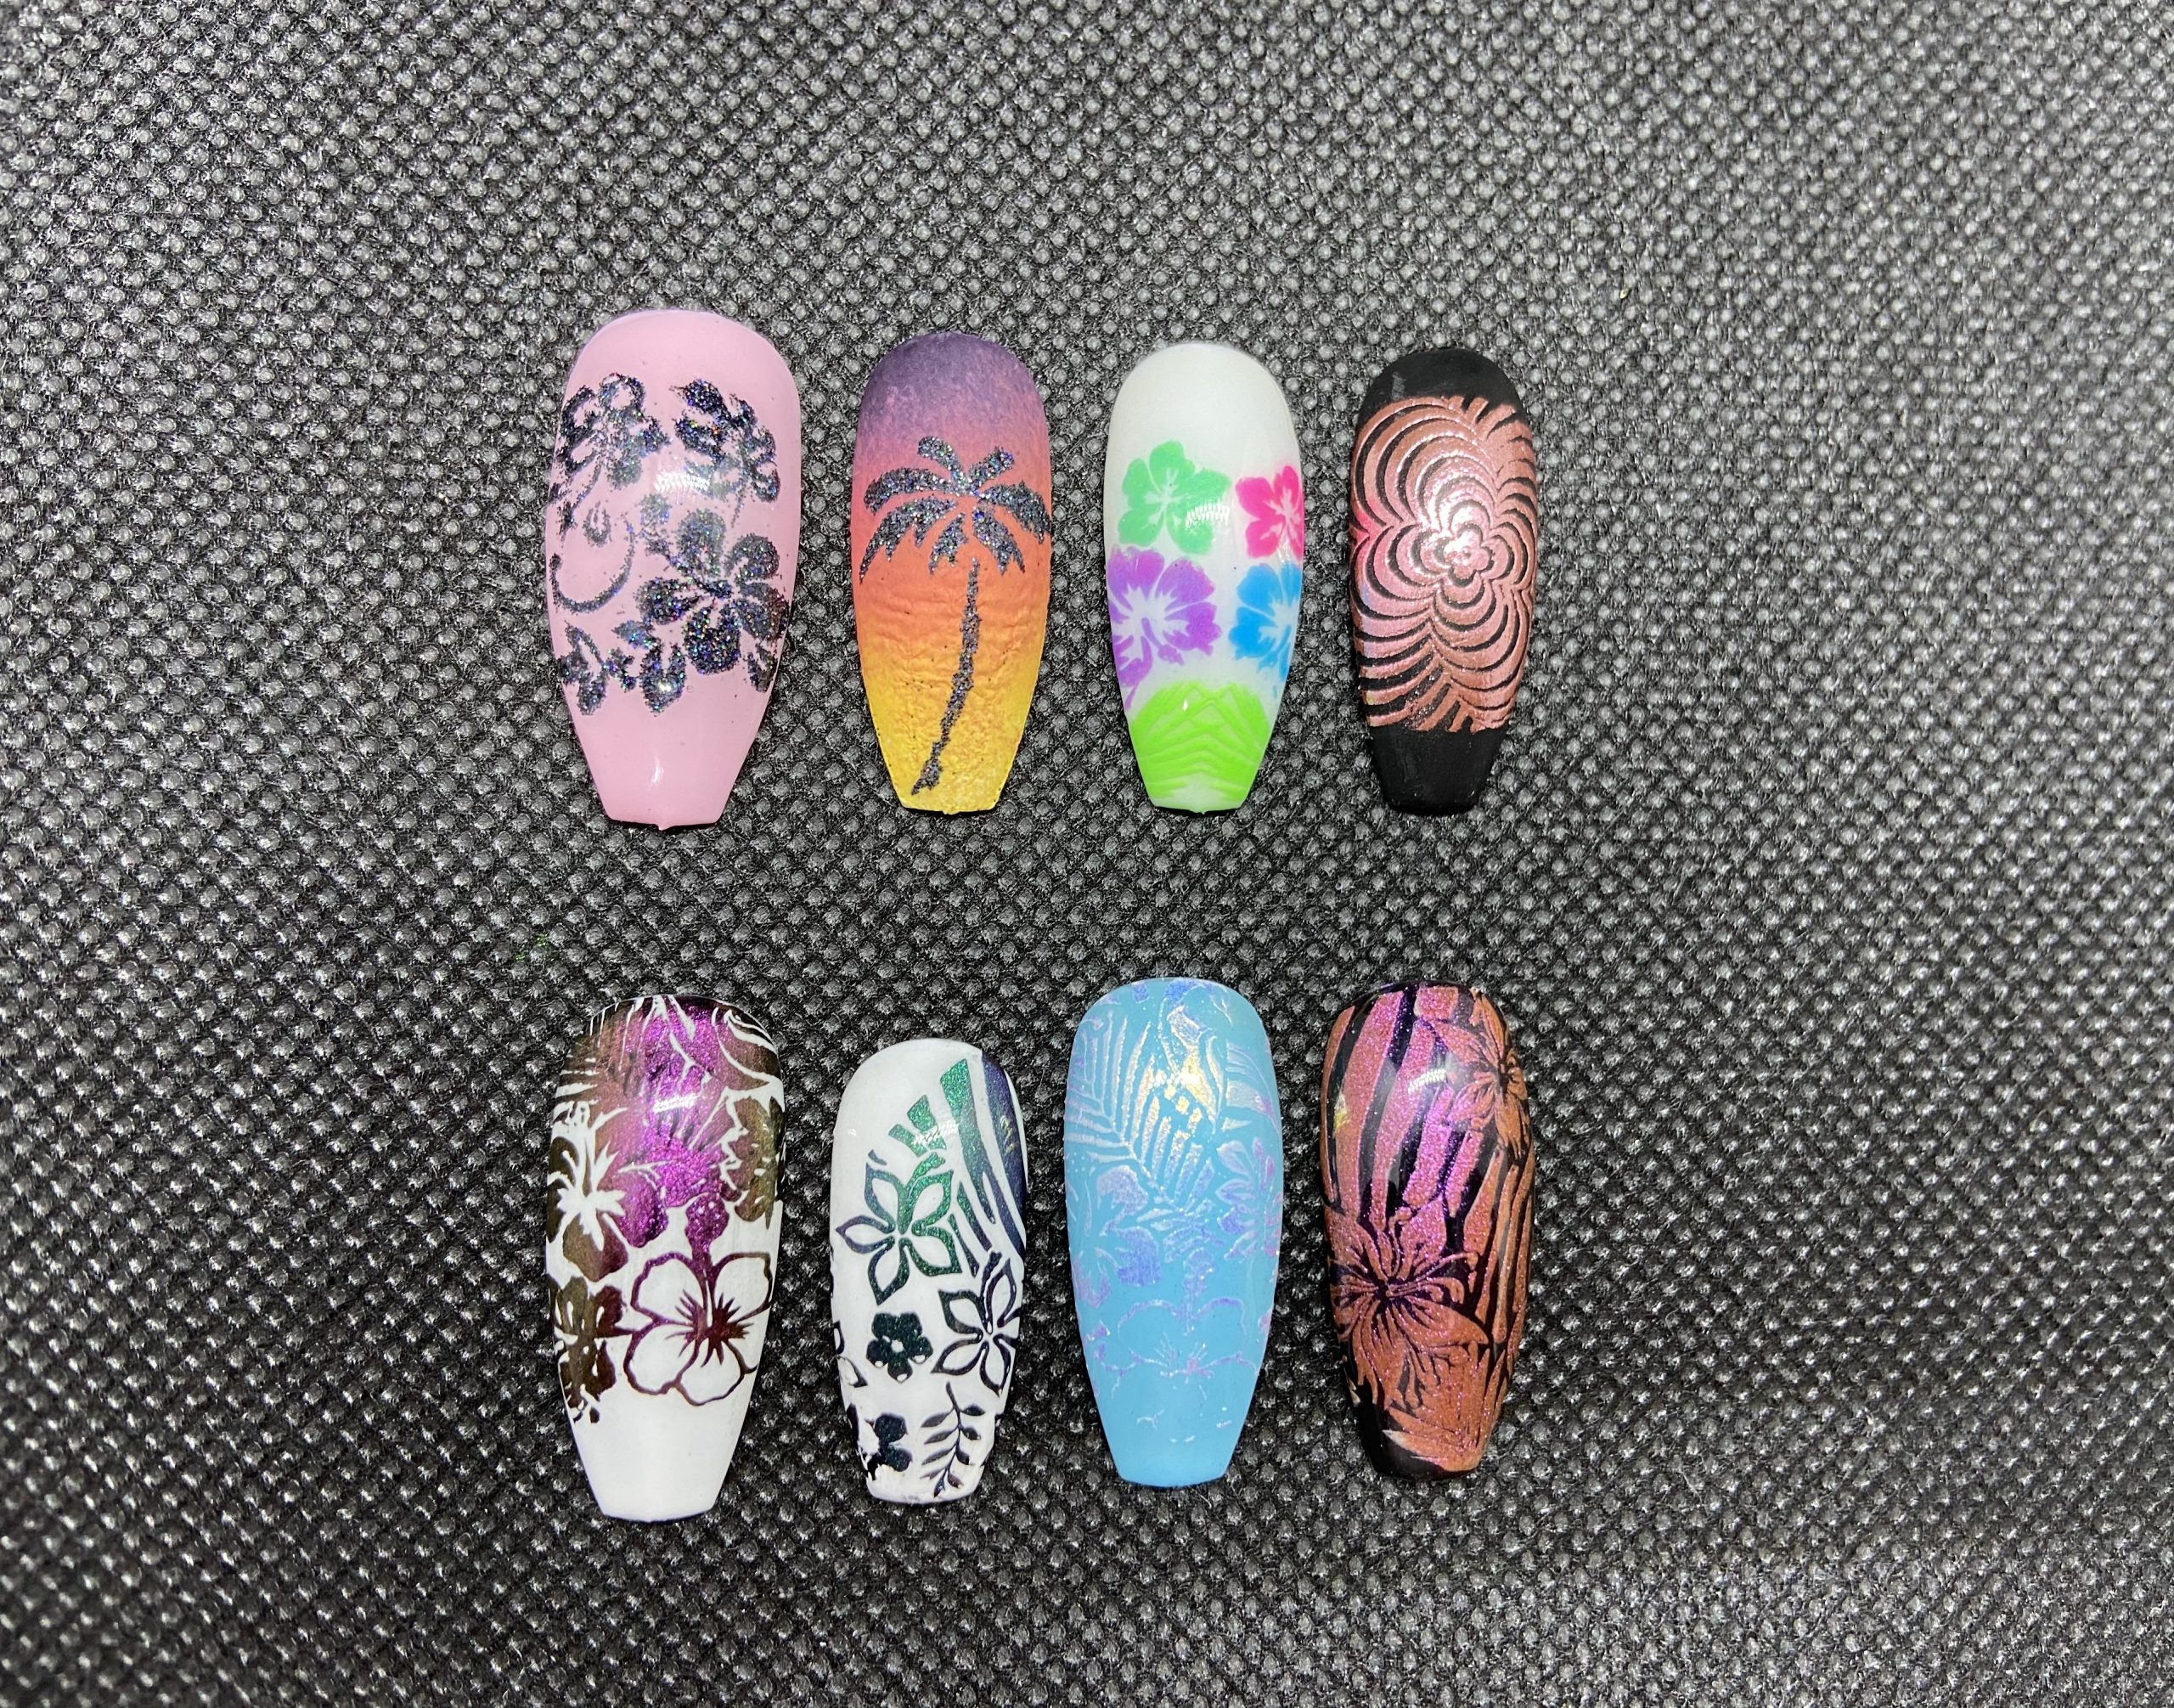

Top Row L-R
- Pink and black glitter flower-Starting with the top left pink nail, I stamped the design using the black stamping gel. I did NOT cure the gel. Using the Scrubby Brush and the Black Holo glitter, I gently dabbed the glitter on to the gel design. Once I was satisfied with the glitter, I cured it for 30 seconds in my led lamp. Using the Scrubby Brush, I brushed off the excess glitter. I did apply top coat.
- Palm tree nail-The palm tree nail was done in the same way as the pink and black glitter nail, but I left it as is with a texture and no top coat.
- Neon flowers-For the neon flowers I used the white stamping gel and neon pigment powder. It can be difficult to see where your design is with white on white, but with the right lighting it’s not too bad. I used an eyeshadow applicator to pat these pigments on gently. Again, I did NOT cure the gel before applying the pigment powders. Once I had the pigments applied, I cured it in my led lamp for 30 seconds. I used the Scrubby Brush to dust off the excess and applied top coat.
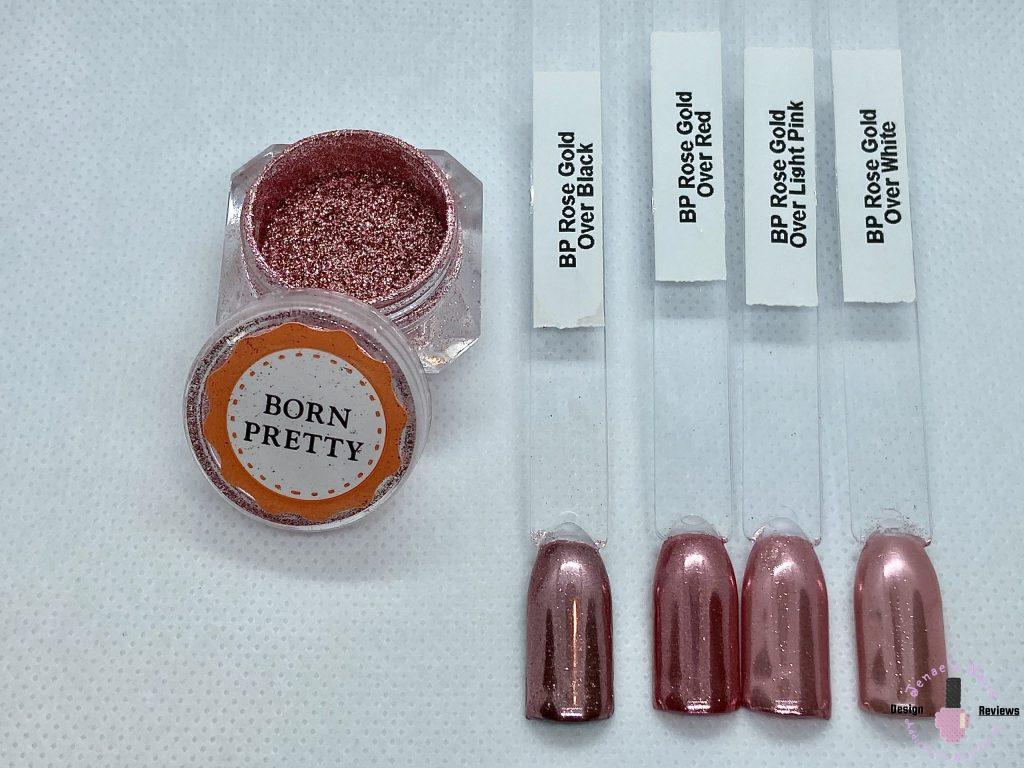
- Rose gold concentric flower-This nail I did put on a matte top coat before stamping the design on. These kinds of powders don’t stick to matte top coats well which works great for this method. The rose gold powder needs to be rubbed/buffed on so I did cure the black stamping gel for 5-10 seconds. Then I gently rubbed and buffed the powder onto the design with an eyeshadow applicator. I finished curing it for the 30 seconds. I used the Scrubby Brush and a makeup sponge to remove the excess powder and left the nail matte.
Bottom Row L-R
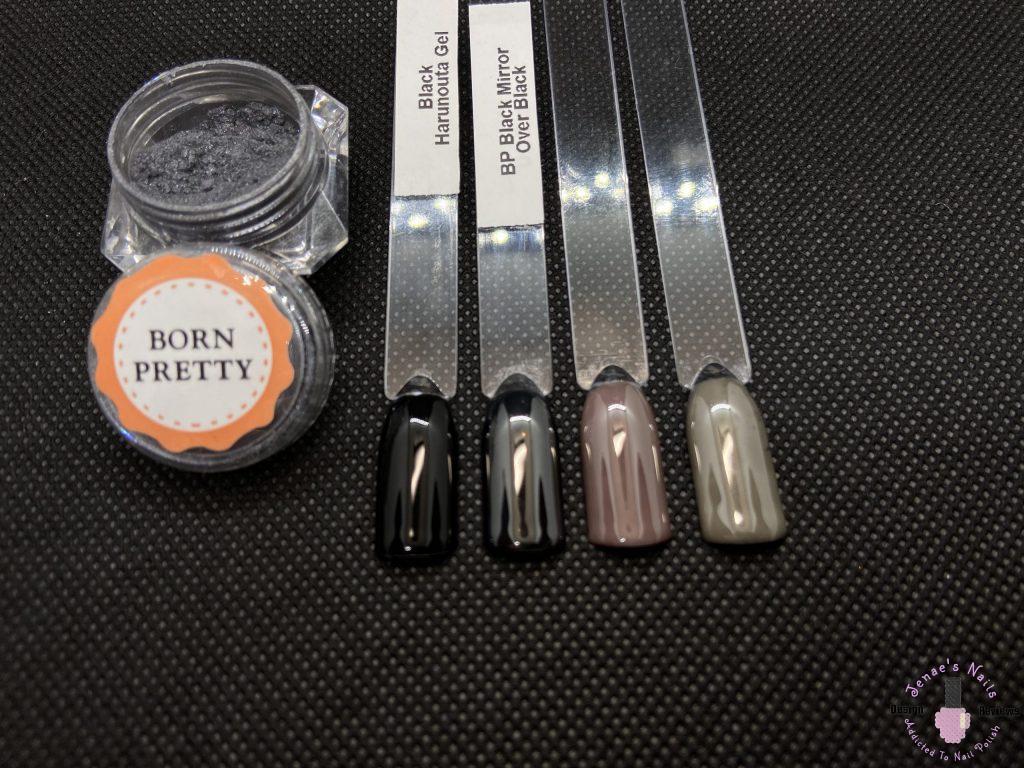
- Hibiscus flower-For this design, after applying the white base coat, I lightly buffed the surface with a buffing block. I tried using two different matte top coats but the powders still stuck and made the white base look muddy. I used the black stamping gel since this powder does best over a dark base and only cured it for 5-10 seconds. Then I buffed the powder into the gel with an eyeshadow applicator and cured it for 30 seconds in my led lamp. I used the clean side of the applicator to get rid of the excess powder and top coated the nail.
- Flowers and leaves-This nail was done the same as the hibiscus flower nail, just with a different color powder. I like how these powders look over a white base.
- Blue with with white chameleon powder-For this design, I did the same steps as the hibiscus and flowers and leaves nail but I used white stamping gel instead. For light base colors, I definitely recommend buffing the color coat to help prevent the powders that you have to buff/rub on from sticking. I used a white chameleon or also known as unicorn powder. Top coat was applied.
- Stripes and flowers-On this nail I used a chameleon dipping powder that can also be rubbed on. If you use the dip method, it looks more like glitter. If you rub the powder on, it’s more like a chrome finish. I wanted more of a glitter finish so I did NOT cure the gel. I used the Scrubby Brush and dabbed the powder on to the black stamping gel. Then I cured it for 30 seconds in the led lamp, and dusted off any excess powder. I applied a top coat.
Scrubby Brush/Black Holo Glitter
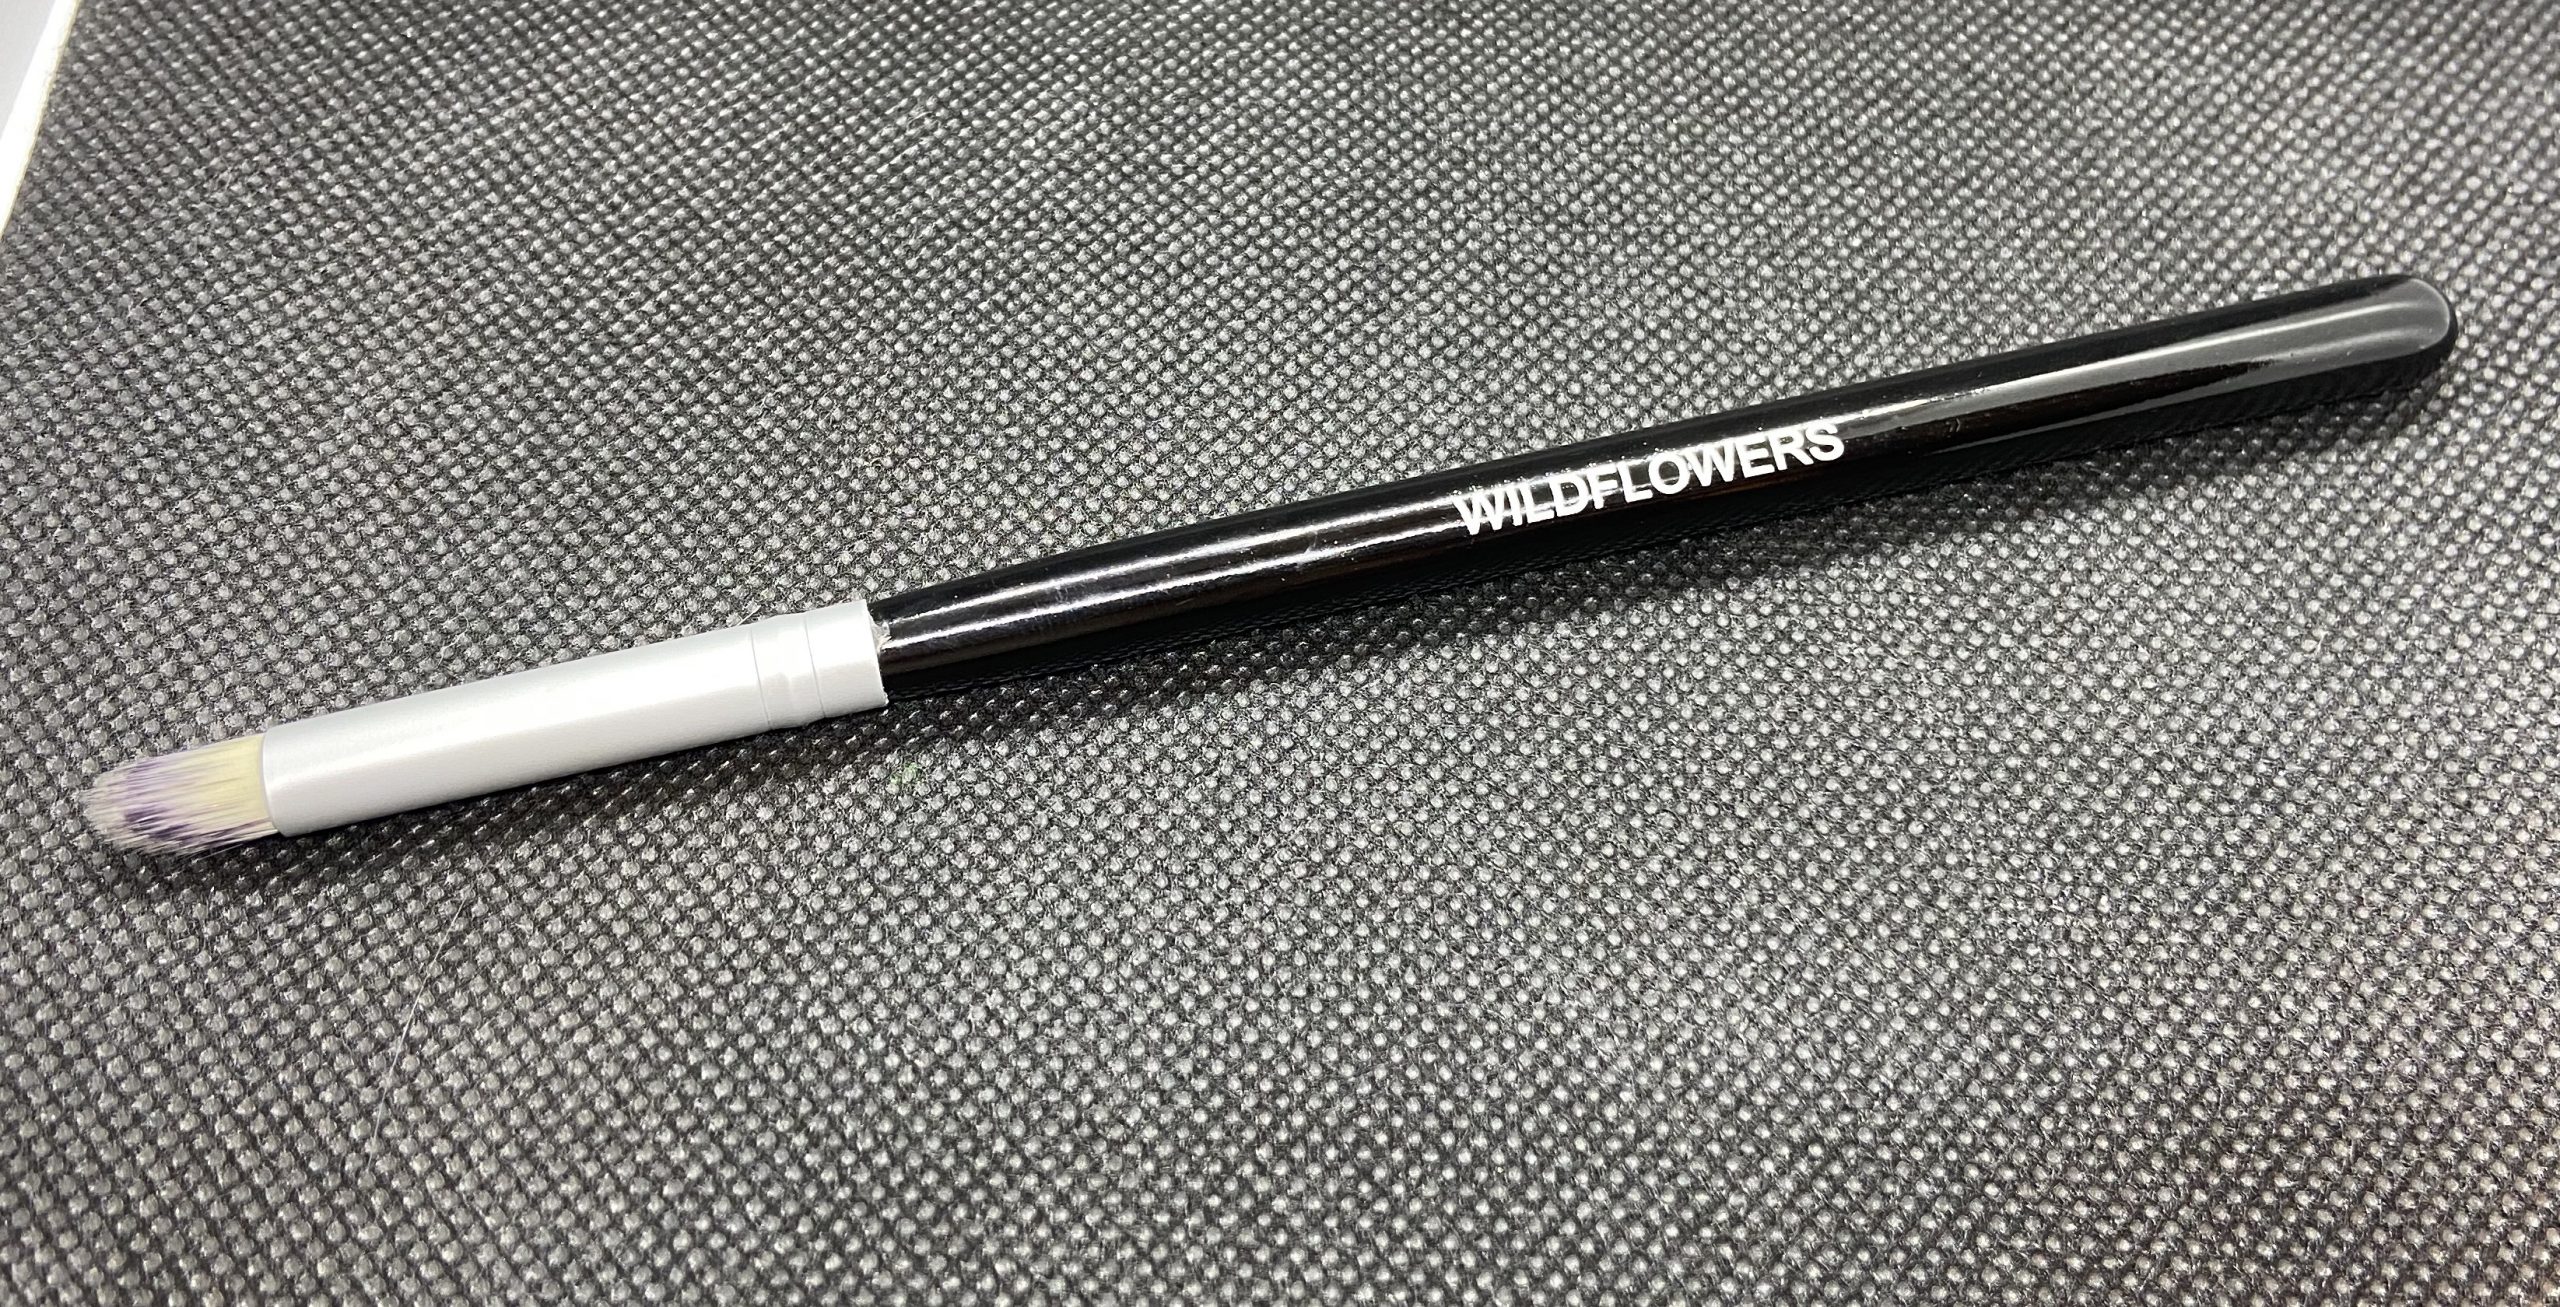
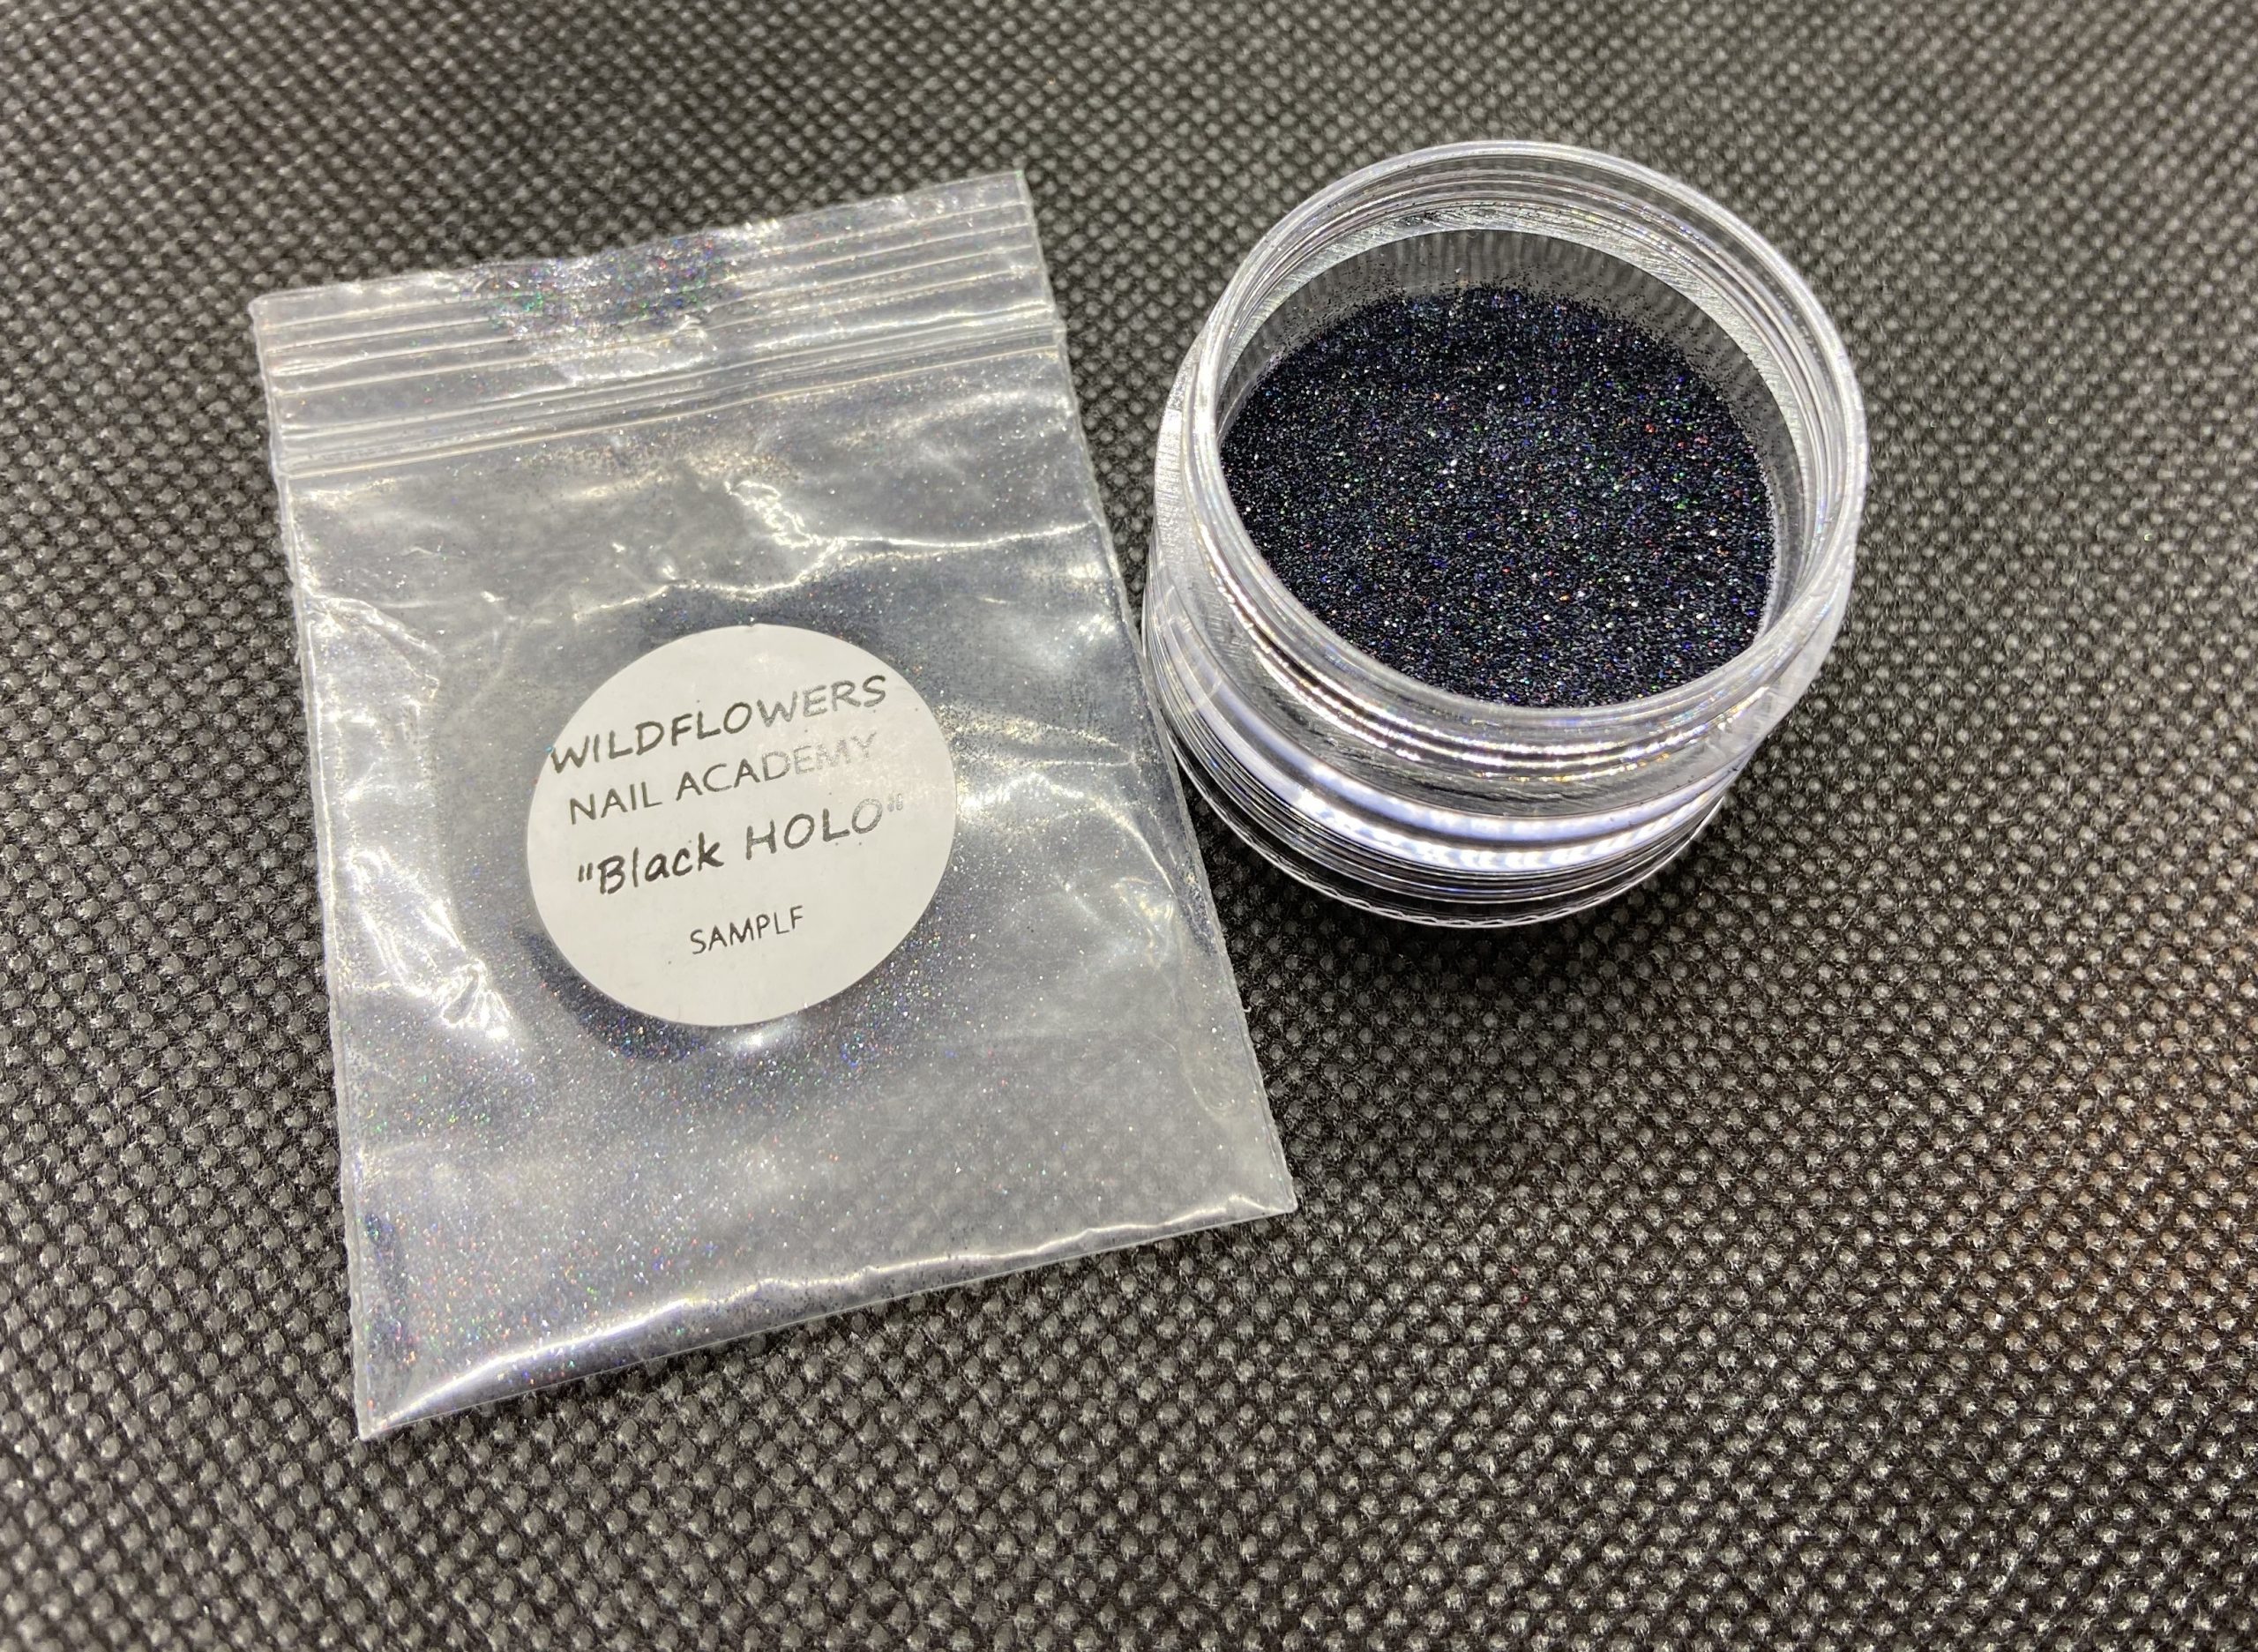
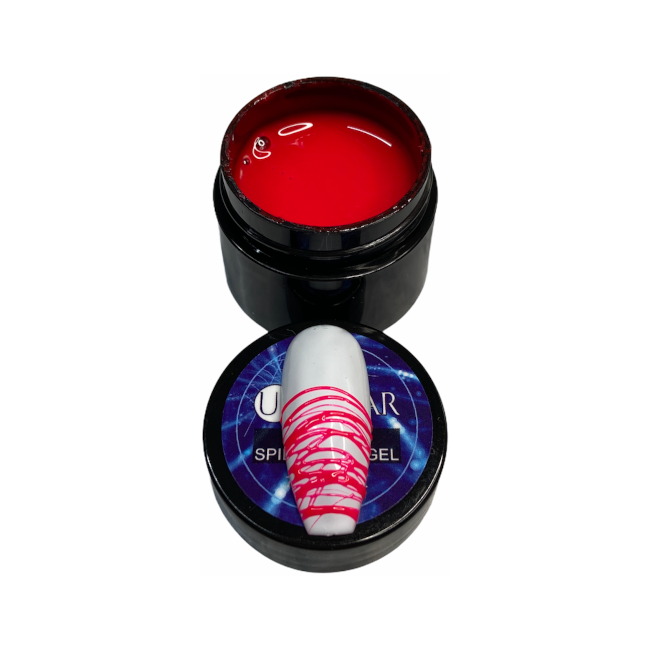
The Scrubby Brush is great. It is angled which is nice. The bristles are soft but sturdy so it makes it easy to both apply product and brush it off. I find I use the Scrubby Brush more to apply and brush off glitter products. I think this a tool you should have in your collection. The last picture is of the Black Holo glitter that I received a sample of. This glitter is beautiful and is difficult to capture in a picture. It came in the little plastic baggie, so I put it in an empty container so you can better see it. The glitter works great when used with the stamping gel. You don’t lose the definition of a design since the glitter is so small. I do want to get some more of the Wildflowers glitters to be able to incorporate them into the stamped designs.
My Thoughts
Both of these stamping gels I am happy to have in my collection. They are a little pricey, but they do exactly what they claim. For me they save on the powder/glitter products that I want to add to a stamped design. Of course you can create these looks without using this special stamping gel. You can apply the powder product to the whole nail and use a negative space design. You can apply the powder to the stamper head and then using a polish, scrape and stamp as normal and only the polish with the powder on top sticks to the nail. But to me, that wastes the powder products and those too can be pricey. This stamping gel just makes it easier to create a wider variety of designs using stamping plates and specialty powders and/or glitters. I highly recommend having these in your collection. They are well worth it!
[mailpoet_form id=”2″]