Hello nail art enthusiasts! In this post I have some simple and easy nail designs for Spring that could easily carry over into any other time of the year as well. These designs are not extravagant, but add some pizzazz to the nails. Some of these designs may come easier to some than others. For myself, hand painting is difficult, but using stamping designs makes it easier for me to add art to my nails. Nail foils is another way to add art to your nails that is relatively easy for most to do. Blooming gel can make a fun and interesting way to add art to the nails as well. Take a look at the photos below and see what I used to achieve these looks.
Nail Stamping


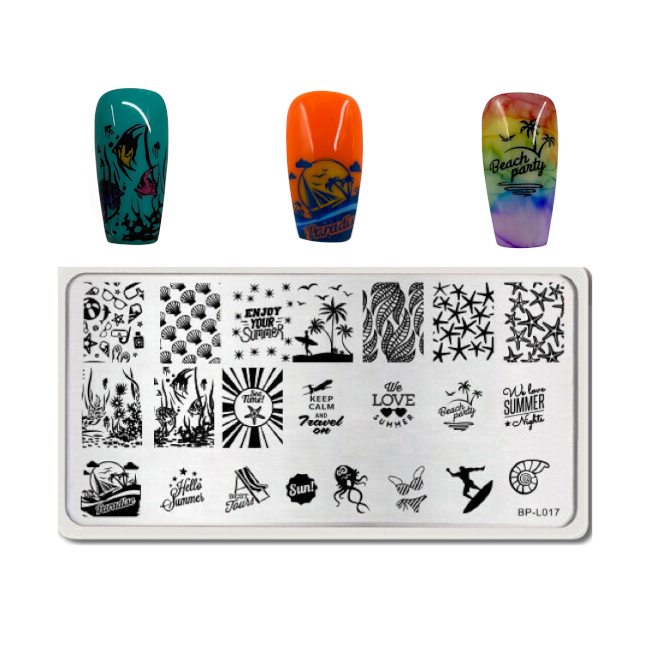
Nail stamping is an easy way to add to your nail design. I am not good at hand painting, especially with my non-dominant hand, so I opt for nail stamping. It is a fun addition to the color on the nails and is very customizable. In the first photo, I used a pale lilac base with simple flower and leaf designs. I stamped with two different stamping polishes, putting the lighter color down first, then the darker color on top. This is more of a delicate design for the nails.
For the second photo, I used a dark base with a multi-color glitter flake. With the darker base color, I stamped using a white stamping polish. You could use any stamping design you want, but I did kind of a mandala design. For the third photo, I used a pale sky blue base and added a silver flake ombré to one of the nails and a full silver flake on another nail. For the stamping design I chose to do a female looking like she’s blowing a dandelion in a dark gray stamping polish.
Nail Foils


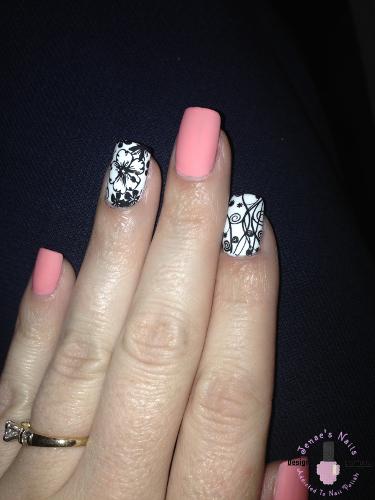
Nail foils is another easy way to add art to your nails. There are many different types of foils on the market, flowers, marble, metallic, the list goes on and on. For foils, whether regular nail polish or gel polish, you need a foil transfer glue base. Foil transfer glue comes in an air dry and uv/led cure formula. For some foils, I recommend having a similar color base color down before applying the foil. Not all foil designs require it, but it helps if pieces of the foil doesn’t transfer. For the first photo I used a pastel pink as a base on all of the nails. The foil design I chose is multi-color pastel marble with some gold veining. I only applied it to two of the nails, leaving the last two as the base color. I like that it’s not too overwhelming with a design on each nail.
For the second photo, I used a metallic foil with multiple colors that look like an oil slick. I didn’t use a base color on this, and it wasn’t necessary. A metallic nail foil can add a shine to the nails, even with a darker theme like this one. For the third photo, I chose a little bolder design, adding a gold glitter to the pinky and a complementary color to the index finger. I used a very pale pink base under the foil design, but you could use a milky white instead.
Blooming Gel


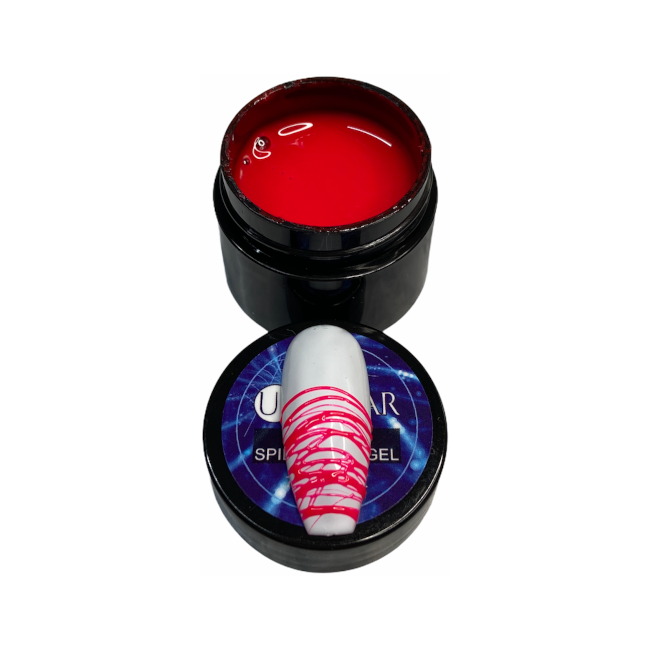
Blooming gel is a great and fun way to incorporate nail art into your nail design. There are many looks you can create with blooming gel and its easy to let things just go with the “flow”. This art medium allows the color to spread out or “bloom”. I’m only aware of the blooming being in a gel formula. But it may be possible with regular nail polish using a slower drying topcoat? You can also use a gel base coat or top coat, it just takes longer to bloom. Make sure to apply the gel in a thin coat.
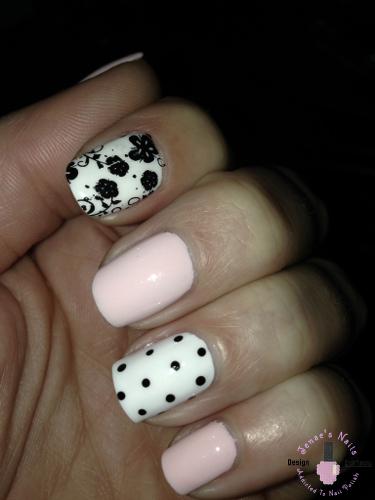
For the first photo I used a pink and a white as the base color. Then using a clear blooming gel on the two middle nails, I applied pink over the white base and white over the pink base in an alligator or crocodile pattern. Then I just let the color spread out and bloom. Once it was to my liking, I put it in the lamp to cure. There are many ways to use blooming gel. You can create marble or flowers like in the second photo. I used a white base, then applied the blooming gel in a thin layer. I used a dotting tool and dipped it into different colors to create the petals and the leaves. I didn’t let them bloom that long so that it didn’t lose the definition of the petals. This looks kind of like water colors on the nail.
Ombrè and Skittle


Ombrè and skittle nail designs are simple and can have a big impact on the nail. You can choose any color combo for this, whether it’s monochromatic colors or all different colors. In the first photo, it is just a skittle mani, or a different color on each finger. I chose coordinating pastel colors. For some reason the green looks really bright, but it wasn’t. The hardest part of this look, is choosing the colors! In the second photo, I did an ombré, skittle, and stamping all in one. I think ombré in regular polish is easier for me to blend than with gel polish. I use a small piece of a makeup sponge to do the blending. When blending gel, I don’t oversaturate the sponge and dab it on a tile to help blend the color a little more before applying it to the nail. After finishing the ombré, I applied a matte top coat to prepare for stamping.
Products Used
I showed just some easy designs you can do to make your nails pop. You can find products like these most anywhere. I will link some of the products I used or something similar from my website below. I used all gel polish as the base colors, but you can re-create any of these looks with regular nail p0lish as well.
- Born Pretty Stamping Plate Flower Tango-L011
- Born Pretty Stamping Plate Natural World-L001
- Born Pretty Stamping Plate BP-L028
- Born Pretty Silicone Jelly Nail Stamper 4cm
- Born Pretty Stamping Polish
- Born Pretty Nail Foil
- Foil Nail Glue
- All Nail Art
- Gel Polishes
- Nail Polishes