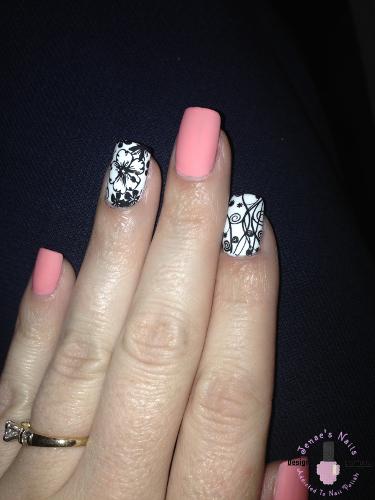
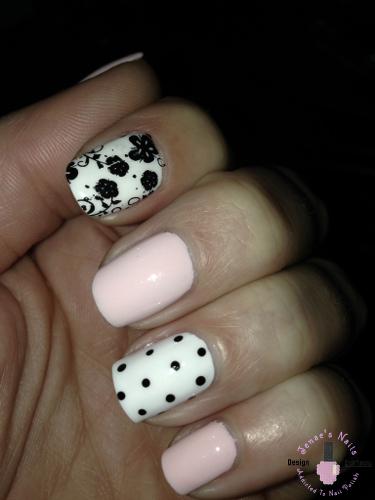
Steps to create these Marshmallow Water Marble Nails
I started by painting 1 coat of Orly White Tips. Once the polish was dry, I used the scotch tape to tape off the areas of my fingers around the nails, but you could also use liquid latex or a similar product to make clean-up easier.
Using a small paper cup, I poured the room temperature bottled water to about a half inch from the top. Using all 3 Orly polishes, I started making a bullseye design in the cup, alternating these brown and white colors but in a repeating order, Buried Treasure, White Tips, Prince Charming and so on. Once I was satisfied with the size of the bullseye, I then took a toothpick and dragged the outer ring of polish to the cup in a few spots to “anchor” the polish bullseye. This helps to keep the polish bullseye from moving around. Then starting from the 2nd outer ring, I drug the toothpick to make a flower design in the bullseye but you can make any pattern or non pattern design. After drawing the design I dipped my thumb and pinky in at the same time. I repeated the process of making the design and then dipped the remaining 3 fingers. This works best for me as the cups I use are small and it’s difficult to do all fingers at the same time and have them hit the water at the same time so you don’t ruin the design. Once the fingers have been dipped, remove the tape and use cotton swabs to clean up the excess polish. Make sure that there is no water on the nails before putting a top coat on.
Products I Used
Marshmallow Water Marble Nails
- Base Coat: Orly Bonder
- Orly: White Tips, Buried Treasure, Prince Charming
- Top Coat: Seche Vite
- Scotch tape
- Bottled Water room temperature
- Small paper cups
- Toothpicks
- Cotton swabs
Want to get the latest updates from Jenae’s Nails ?
Subscribe below to be the first to know when new content is available.
[email-subscribers-form id=”1″]


