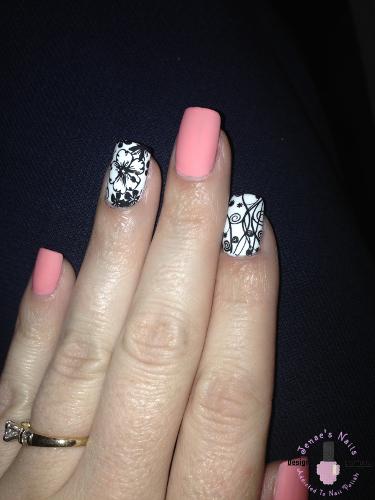
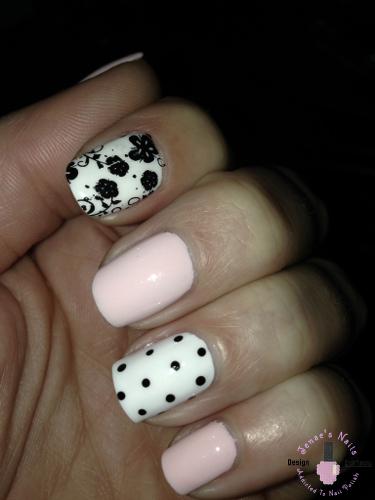
I had fun creating this red and white Christmas nail look. It certainly got me into a festive mood. I like it because it’s says “Christmas” to me without being too over the top. The hardest thing for me to do in this look was drawing the stripes as straight as I could. Keep reading to see how I achieved this design.
Getting started
I have acrylic nails so my first step was applying OPI Bondex to all of my nails to help extend the wear of the gel polish. Next, I applied 2 coats of red gel polish to my thumb, index and pinky finger. On the middle finger, I used 1 coat of white gel polish and 2 thin coats of glitter gel. On the ring finger, using a dotting tool and the same red gel polish, I marked out where I wanted the “V” shape to be. Then with a striper brush I connect the dots of the “V” trying to keep the lines as straight as possible. Once I did that, I just used a gel brush to fill in the rest of the area.
Moving on to the index finger, I used a white gel stamping polish and a striper brush to create the stripes. I varied the sizes of the stripes because it looked more aesthetically pleasing to me. On the ring finger I stamped a snowflake with white stamping polish. I lined up the center of the snowflake at the point where the “V” came down. Then I applied gel top coat to all of my nails. Lastly I applied some cuticle oil.
Products I used
- OPI Bondex
- UR Sugar potted gel F005 (red)
- UR Sugar potted gel White
- Light Elegance Tiny Diamond
- Born Pretty stamping gel White Lotus
- MoYou London stamping polish White Knight
- MoYou London Festive Collection-02 plate
- Le Chat Perfect Match gel top coat
- Beauty Secrets cuticle oil
Want to get the latest updates from Jenae’s Nails ?
Subscribe below to be the first to know when new content is available.
[email-subscribers-form id=”1″]


